1. 初始
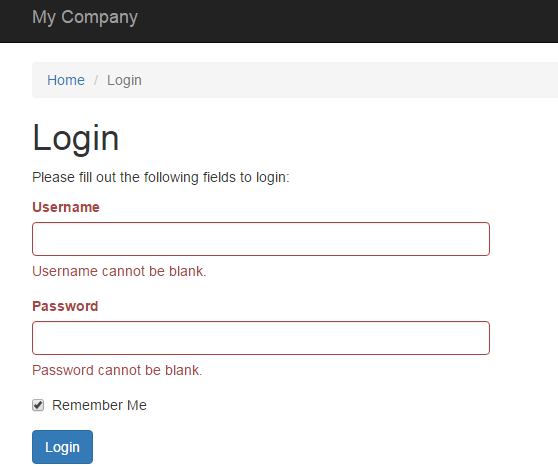
Yii2 Advance自带了一个登录的选项,基于此我们进行改善,添加注册的时候邮箱的验证。

最新安装功能及步骤
2. 配置
(基本版可以免配置)
定义模型
@common/config/main.php'modules' => [ 'user' => [ 'class' => 'dektrium\user\Module', // you will configure your module inside this file // or if need different configuration for frontend and backend you may // configure in needed configs ], ],限制前端访问管理员的控制器
@frontend/config/main.php'modules' => [ 'user' => [ // following line will restrict access to admin controller from frontend application 'as frontend' => 'dektrium\user\filters\FrontendFilter', ], ],后台不可以访问profile, recovery, registration and settings controllers
@backend/config/main.php'modules' => [ 'user' => [ // following line will restrict access to profile, recovery, registration and settings controllers from backend 'as backend' => 'dektrium\user\filters\BackendFilter', ], ],将Yii2高级版前后端预定义的user组件注释掉
@frontend/config/main.php
@backend/config/main.php'components' => [ ... /*'user' => [ 'identityClass' => 'common\models\User', 'enableAutoLogin' => true, ],*/ ...],
配置完成。
如果前后台域名在一起,如domain.com和domain.com/admin,需要设置让前后端有独立的会话,避免登录登录前端的同时登录到了后端。
@backend\config\main.php'components' => [ 'user' => [ 'identityCookie' => [ 'name' => '_backendIdentity', 'path' => '/admin', 'httpOnly' => true, ], ], 'session' => [ 'name' => 'BACKENDSESSID', 'cookieParams' => [ 'httpOnly' => true, 'path' => '/admin', ], ], ],@frontend\config\main.php'components' => [ 'user' => [ 'identityCookie' => [ 'name' => '_frontendIdentity', 'path' => '/', 'httpOnly' => true, ], ], 'session' => [ 'name' => 'FRONTENDSESSID', 'cookieParams' => [ 'httpOnly' => true, 'path' => '/', ], ], ],这样前后端就会有不同的会话。
3. 开始安装Yii2-user
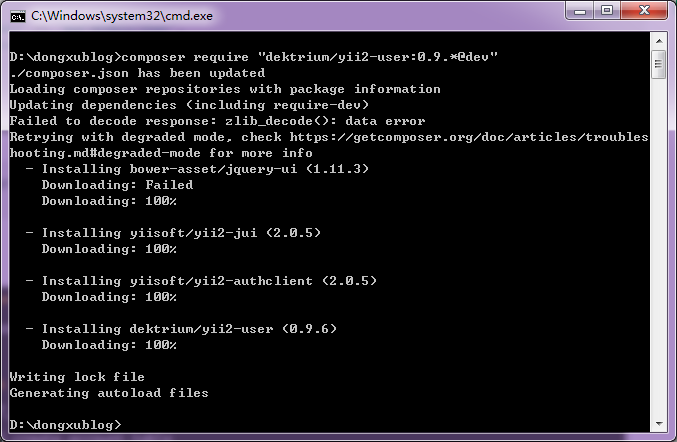
下载
`composer require "dektrium/yii2-user:0.9.*@dev"`
配置
@common/config/main.php'modules' => [ 'user' => [ 'class' => 'dektrium\user\Module', // you will configure your module inside this file // or if need different configuration for frontend and backend you may // configure in needed configs ], ],更新数据库模式
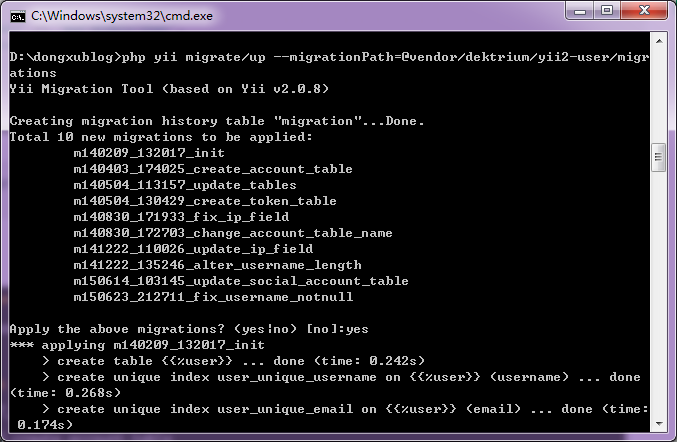
首先确保已配置好数据库连接组件,然后执行如下命令,安装Yii2-user所需要的数据库表:
`$ php yii migrate/up --migrationPath=@vendor/dektrium/yii2-user/migrations`
这样就完成了Yii2-user的安装。
4. 配置
@common/config/main.php
...
'modules' => [
    ...
    'user' => [
        'class' => 'dektrium\user\Module',
        'enableUnconfirmedLogin' => true,//用户未激活也能登录
        'confirmWithin' => 21600,//激活过期时间
        'cost' => 12,//用于Blowfish hash algorithm
        'admins' => ['admin']//管理员
    ],
    ...
],
...
5. 激活SwiftMailer
@common/config/main-local.php
'mailer' => [
    'class' => 'yii\swiftmailer\Mailer',
    'viewPath' => '@app/mailer',
    'useFileTransport' => false,
    'transport' => [
        'class' => 'Swift_SmtpTransport',
        'host' => 'smtp.163.com',
        'username' => 'xdyeung@163.com',
        'password' => 'your-password',
        'port' => '587',
        'encryption' => 'tls',
        ],
],
6. 集成Yii2-user
将首页导航栏(frontend/views/layouts/main.php,)指向Yii2-user的控制器路径。原先是指向Bootstrap的菜单,如下所示:
NavBar::begin([
    'brandLabel' => 'My Company',
    'brandUrl' => Yii::$app->homeUrl,
    'options' => [
        'class' => 'navbar-inverse navbar-fixed-top',
    ],
]);
$menuItems = [
    ['label' => 'Home', 'url' => ['/site/index']],
    ['label' => 'About', 'url' => ['/site/about']],
    ['label' => 'Contact', 'url' => ['/site/contact']],
];

if (Yii::$app->user->isGuest) {
    $menuItems[] = ['label' => 'Signup', 'url' => ['/site/signup']];
    $menuItems[] = ['label' => 'Login', 'url' => ['/site/login']];
} else {
    $menuItems[] = '<li>'
        . Html::beginForm(['/site/logout'], 'post')
        . Html::submitButton(
            'Logout (' . Yii::$app->user->identity->username . ')',
            ['class' => 'btn btn-link']
        )
        . Html::endForm()
        . '</li>';
}
echo Nav::widget([
    'options' => ['class' => 'navbar-nav navbar-right'],
    'items' => $menuItems,
]);
NavBar::end();
改成:
$navItems=[
    ['label' => 'Home', 'url' => ['/site/index']],
    ['label' => 'Status', 'url' => ['/status/index']],
    ['label' => 'About', 'url' => ['/site/about']],
    ['label' => 'Contact', 'url' => ['/site/contact']]
  ];
  if (Yii::$app->user->isGuest) {
    array_push($navItems,['label' => 'Sign In', 'url' => ['/user/login']],['label' => 'Sign Up', 'url' => ['/user/register']]);
  } else {
    array_push($navItems,['label' => 'Logout (' . Yii::$app->user->identity->username . ')',
        'url' => ['/site/logout'],
        'linkOptions' => ['data-method' => 'post']]
    );
  }
echo Nav::widget([
    'options' => ['class' => 'navbar-nav navbar-right'],
    'items' => $navItems,
]);
7. 实验
给表添加字段:
alter table user add 'status' smallint(6) NOT NULL DEFAULT '10' comment "状态"